Before saving an Advanced Search on CrewMachine, ensure that –
- You have an account on CrewMachine
- You have a suitable role such as that of Project Manager, Reviewer, Verifier, Writer, Editor or QA.
Then, follow these simple steps to save an Advanced Search.
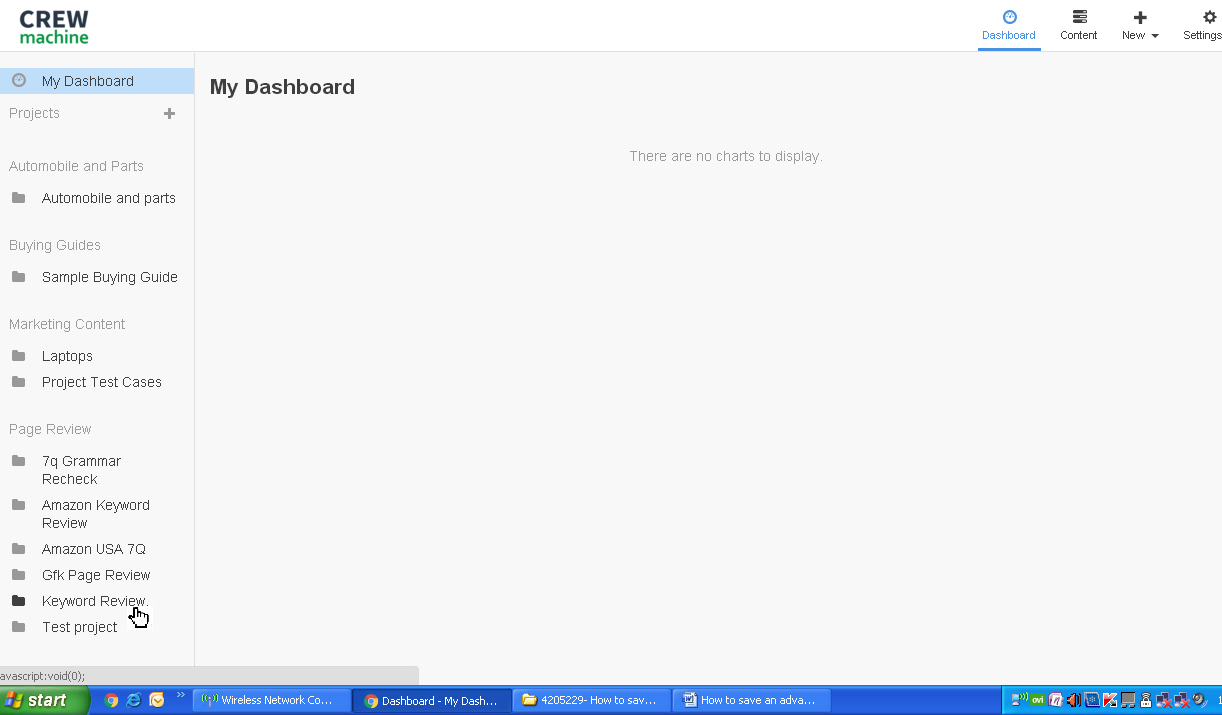
1. Login to your CrewMachine account using the correct login details.

2. This will open the Dashboard page.

3. Select an appropriate project from the list displayed on the far left of the page. For example, select the project ‘Keyword Review’.
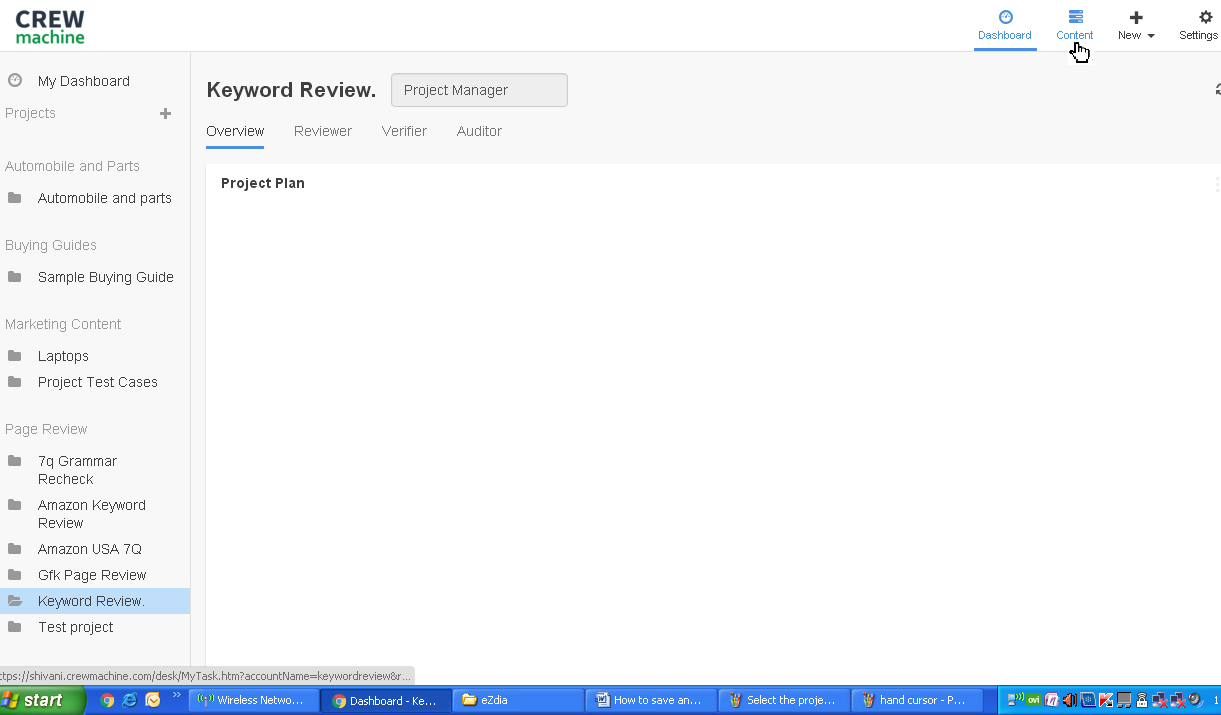
4. This opens the ‘Keyword Review’ project page. Select a suitable role from the dropdown list in the box towards the top of the page. For example, the role could be that of a Project Manager.

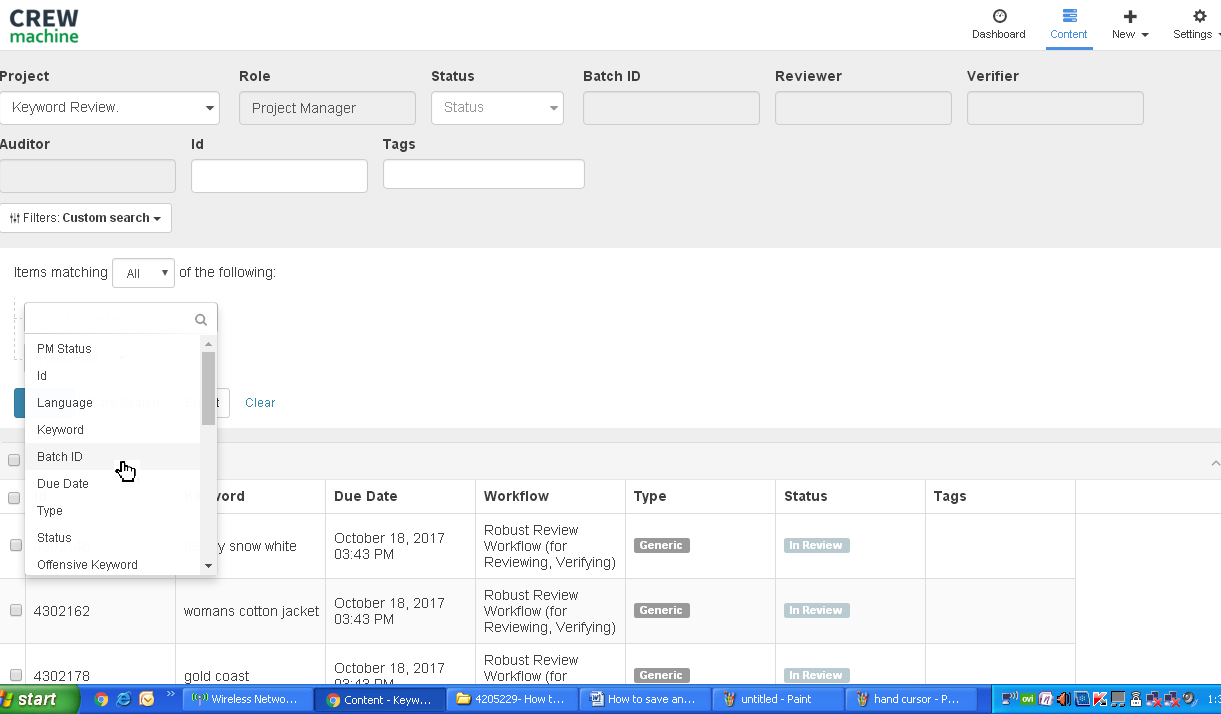
5. Click on Content on the right top corner of this page to open the Content page.
6. Select a suitable filter from the options given under the Filters tab on the left side of the page. For example, select ‘Custom Search’.

7. Alternatively, click on Edit.
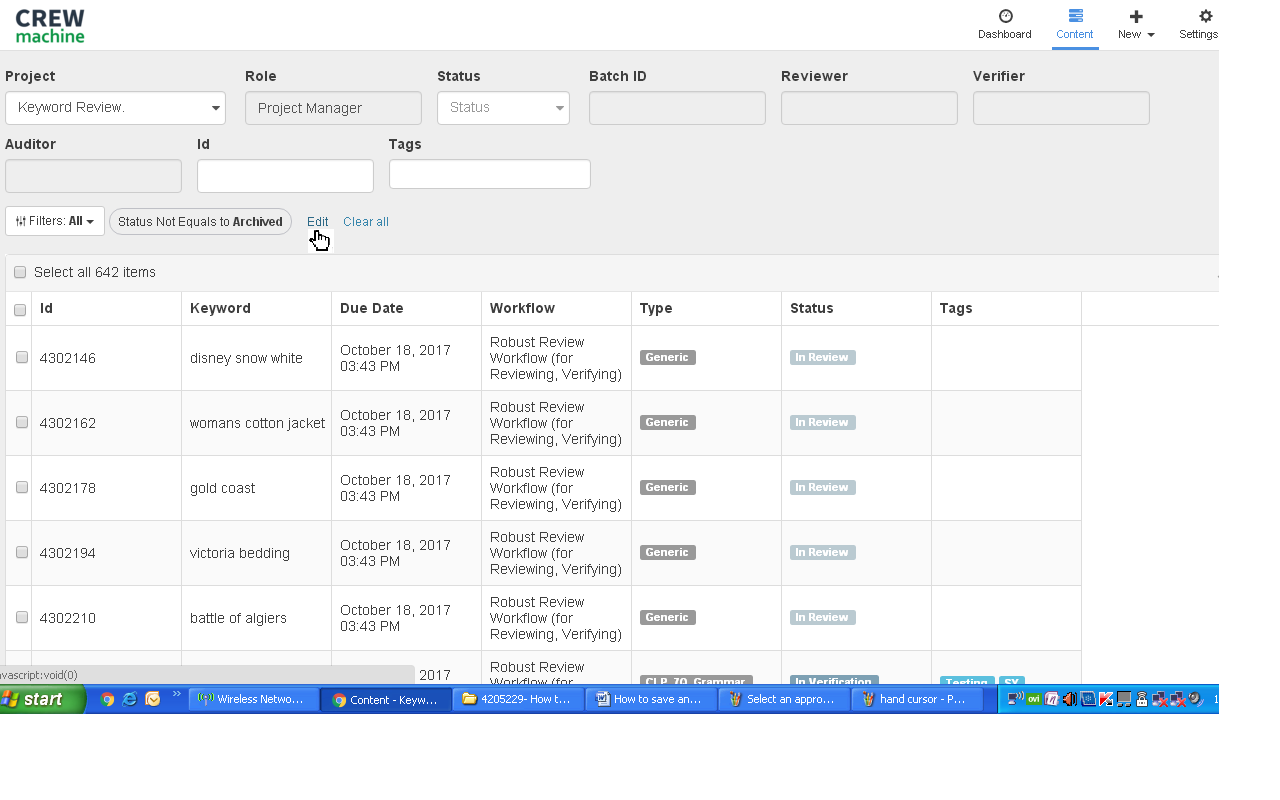
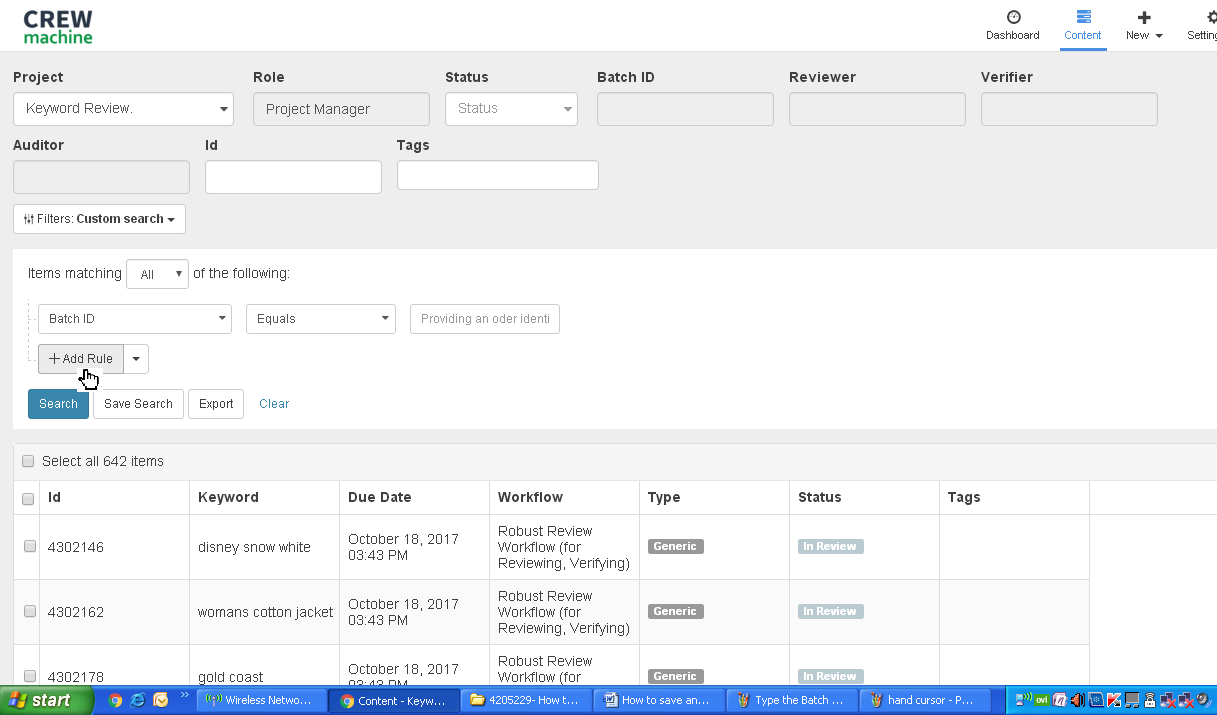
8. Open the dropdown menu in the first tab and choose an appropriate option. For example, to find a particular Batch ID for the ‘Keyword Review’ project, choose this from the dropdown menu.
9. Choose Equals from the adjacent box and type the required Batch ID in the box or choose from the options given.

10. It is possible to select multiple search options at the same time. To do this, click on Add Rule.
11. Then, select a different criterion from the drop-down menu. For example, select ‘Status’.

12. Choose Equals and then the status of the item in the third box. For example, select ‘In Review’.

13. Similarly, to choose a third search criterion, again click on Add Rule and select from the options given in the dropdown menu. For example, select ‘Reviewer Status’, choose Equals and then select Submitted from the options given in the third box.

14. Click on Search. This opens the selected search items in a tabulated format beneath the Search button.

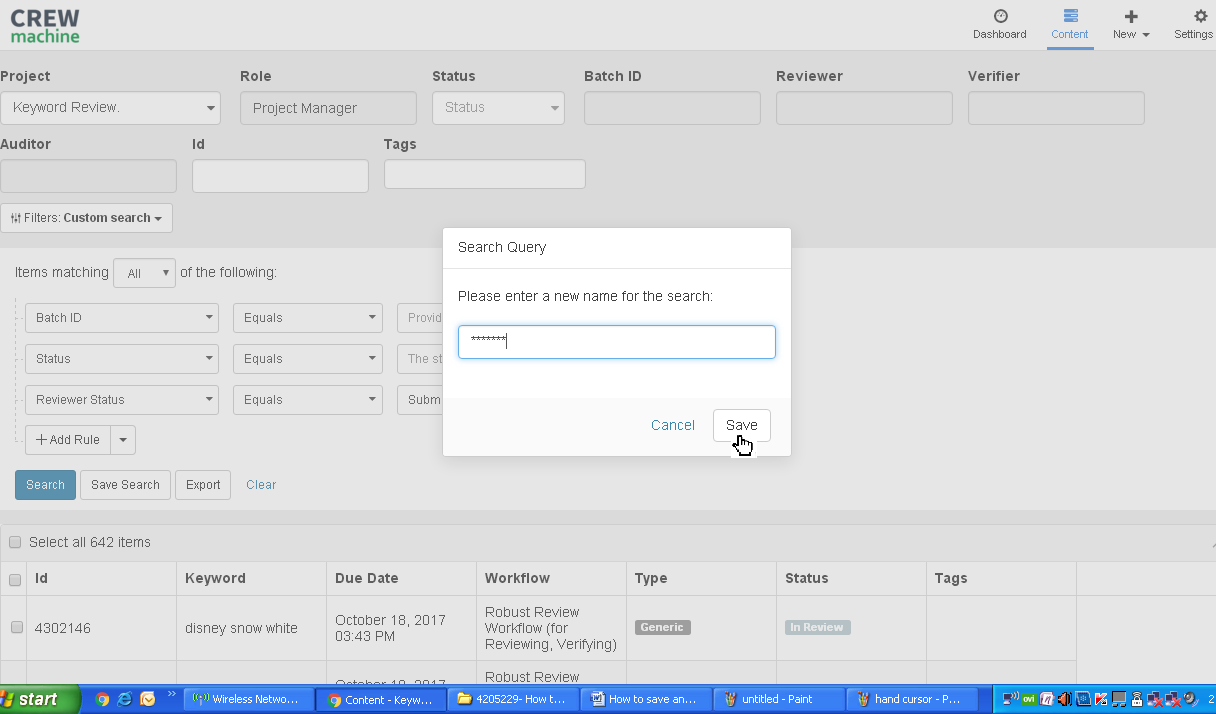
15. To save this search, click on Save Search.

16. This opens the Search Query box. Type a suitable name for the search in the box and click on Save.